|
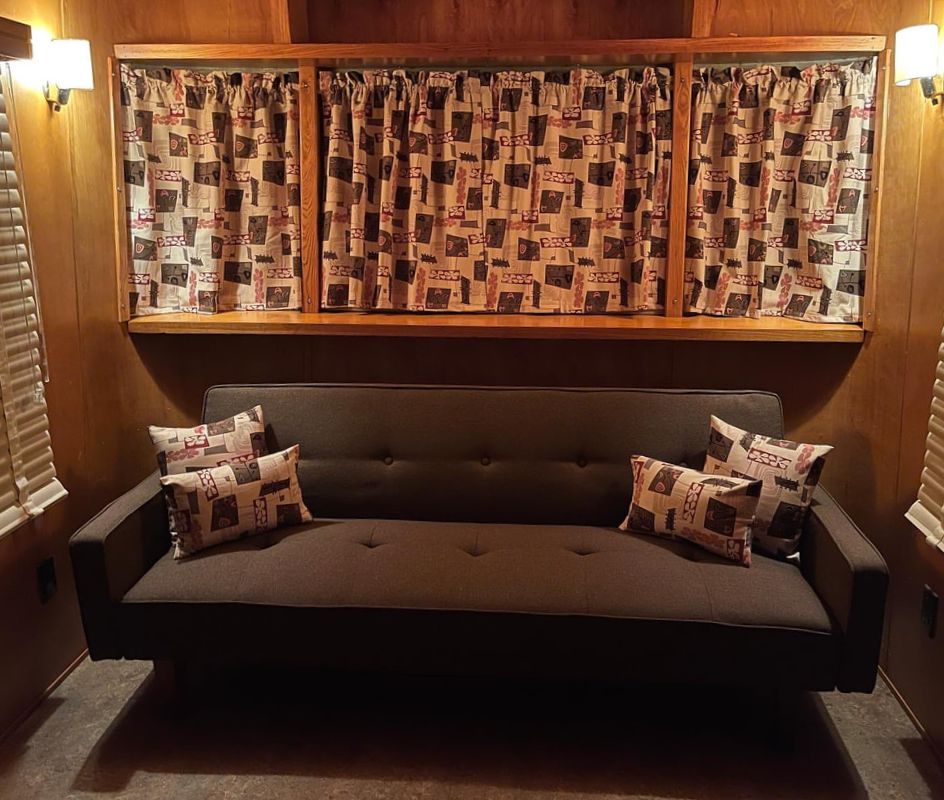
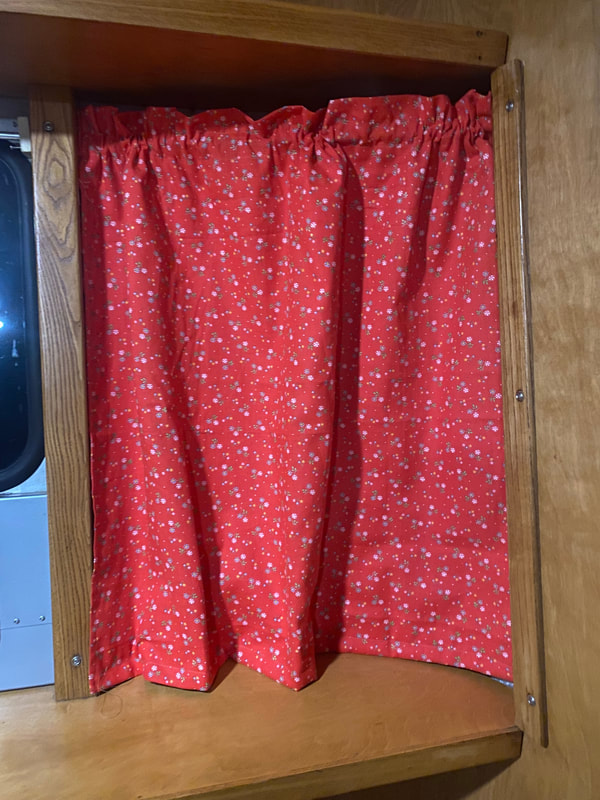
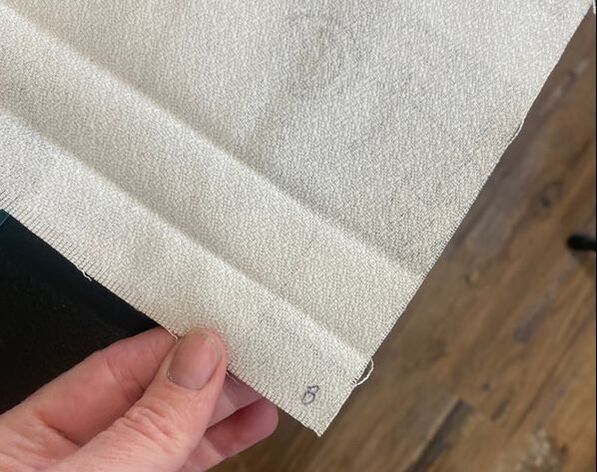
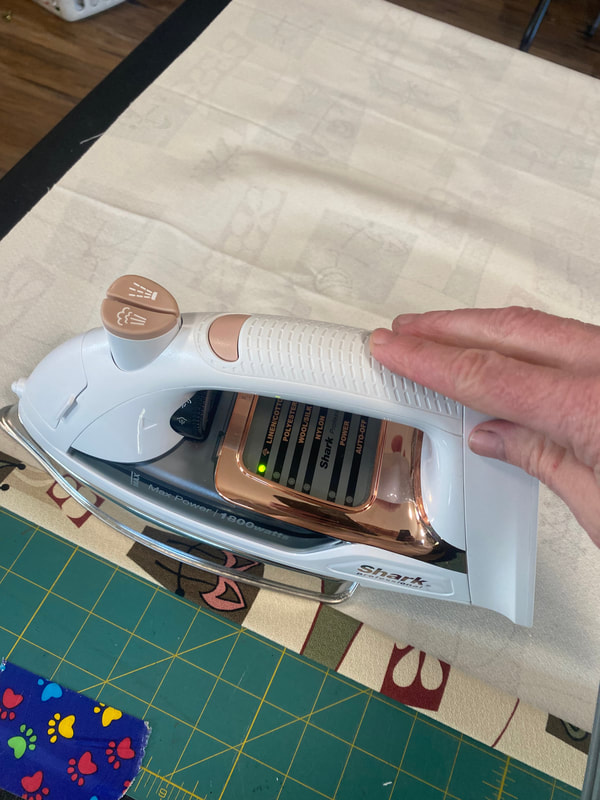
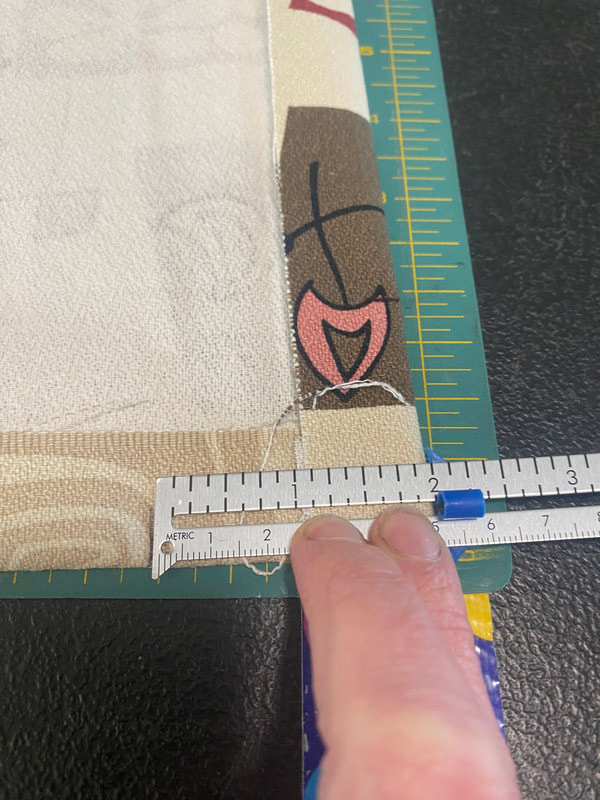
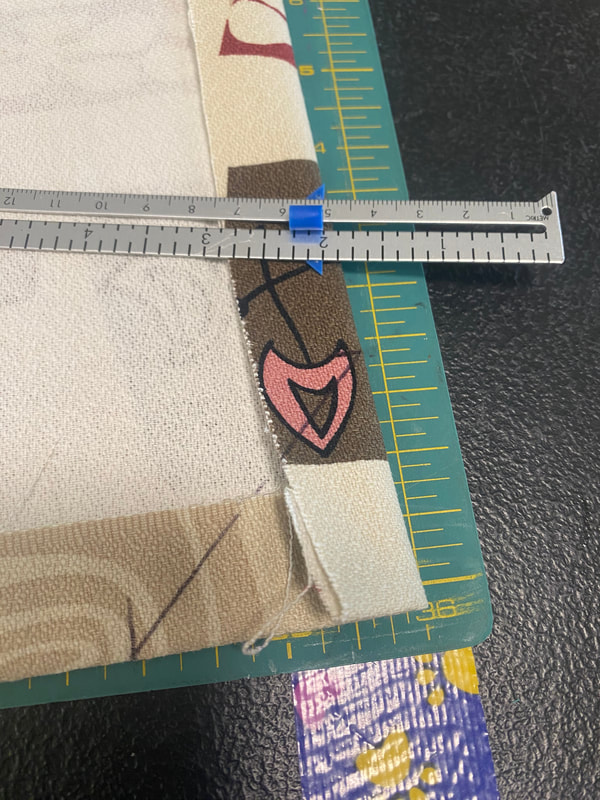
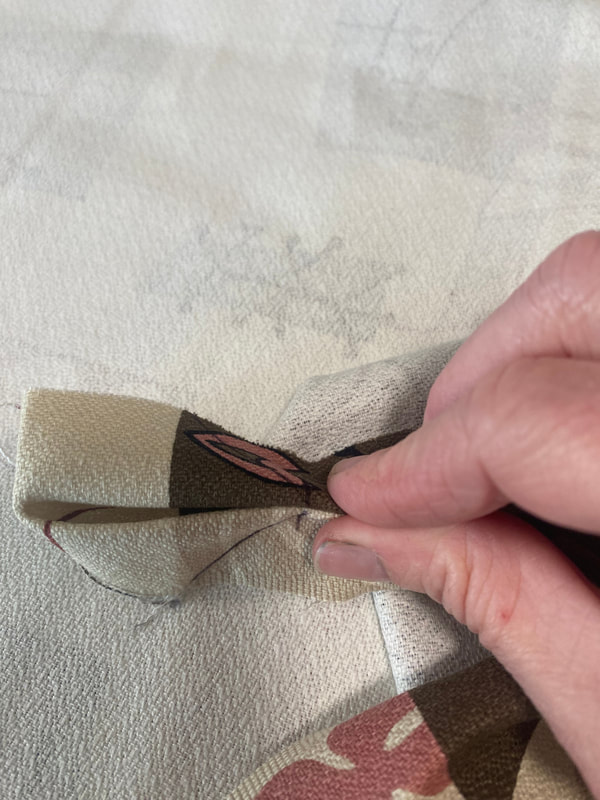
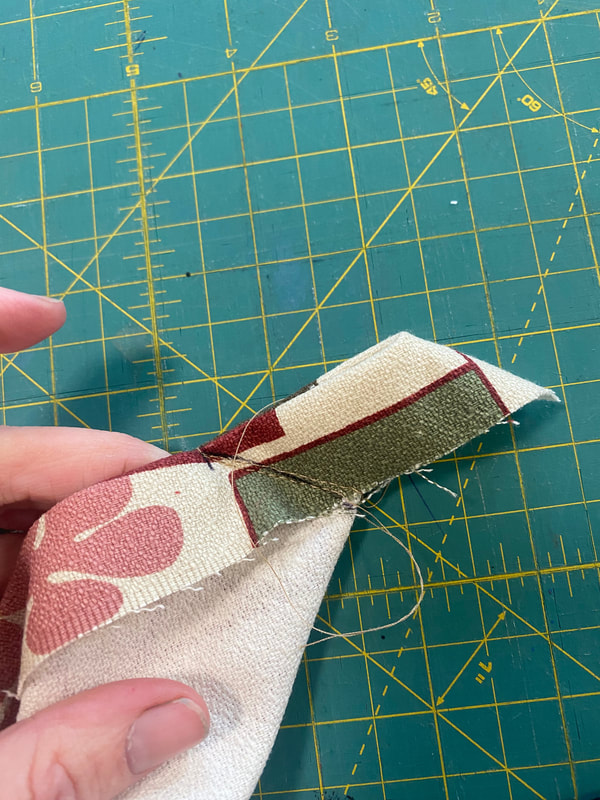
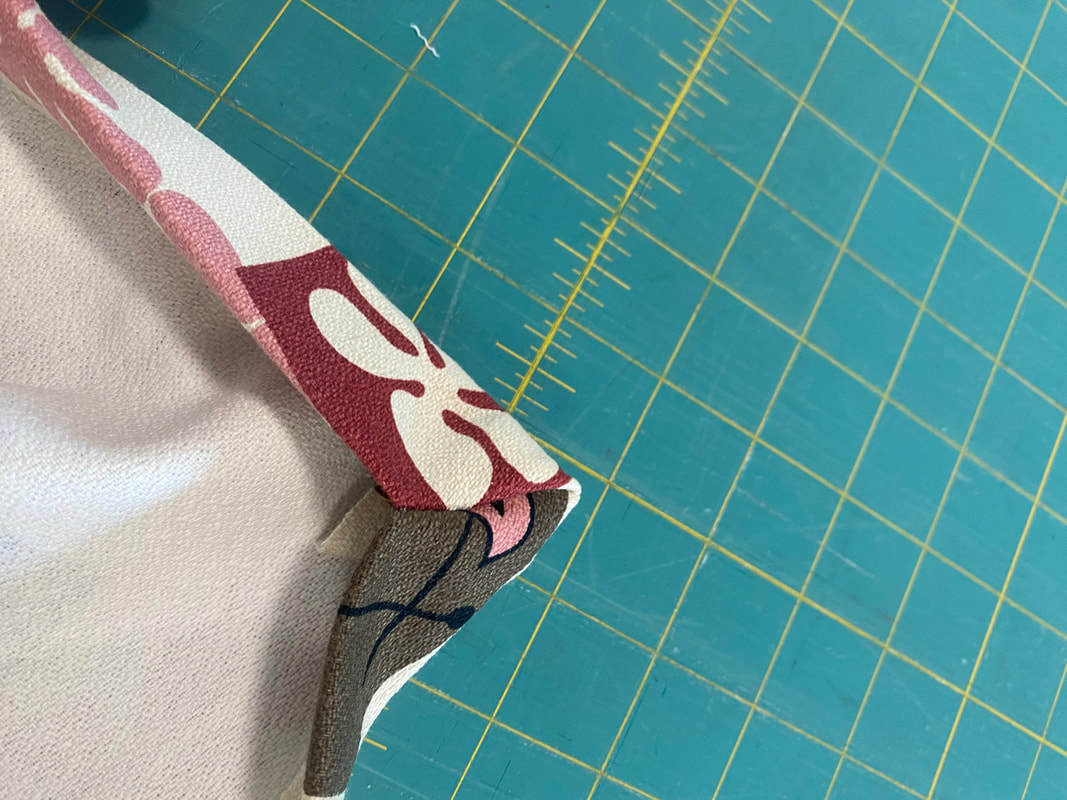
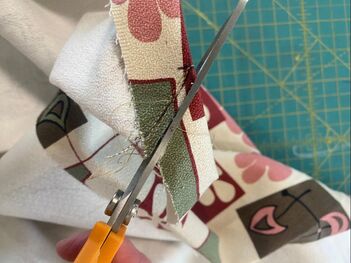
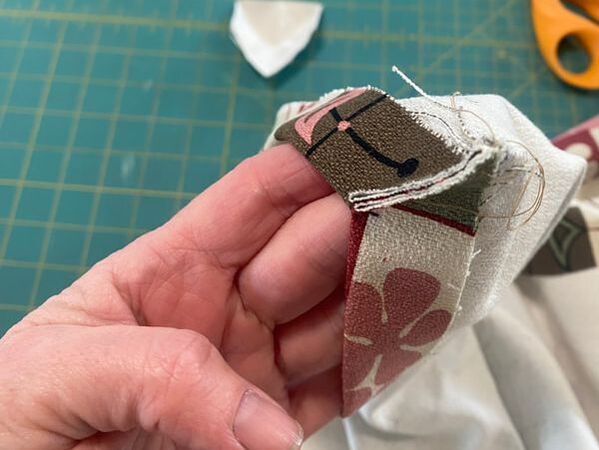
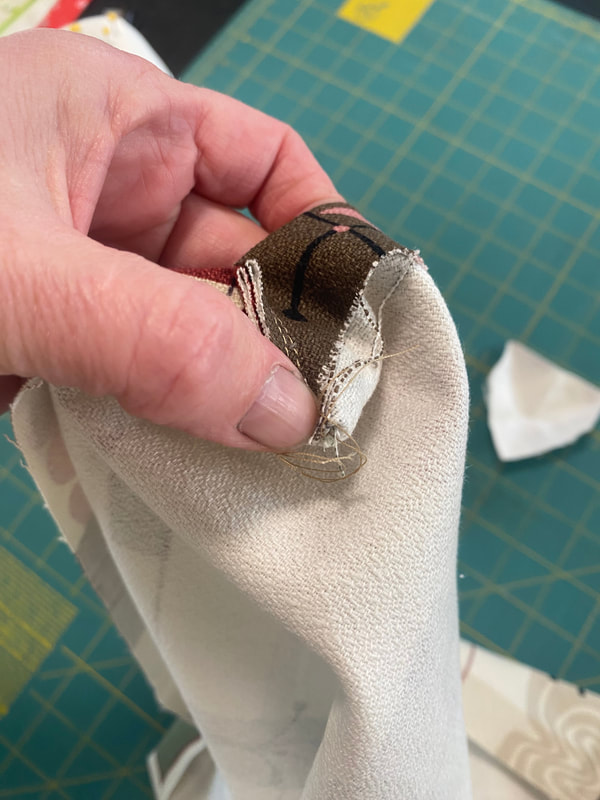
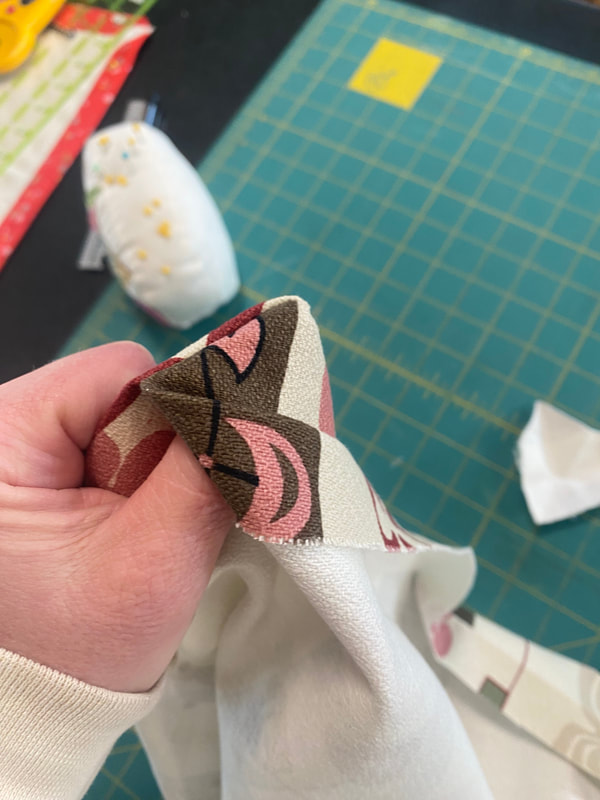
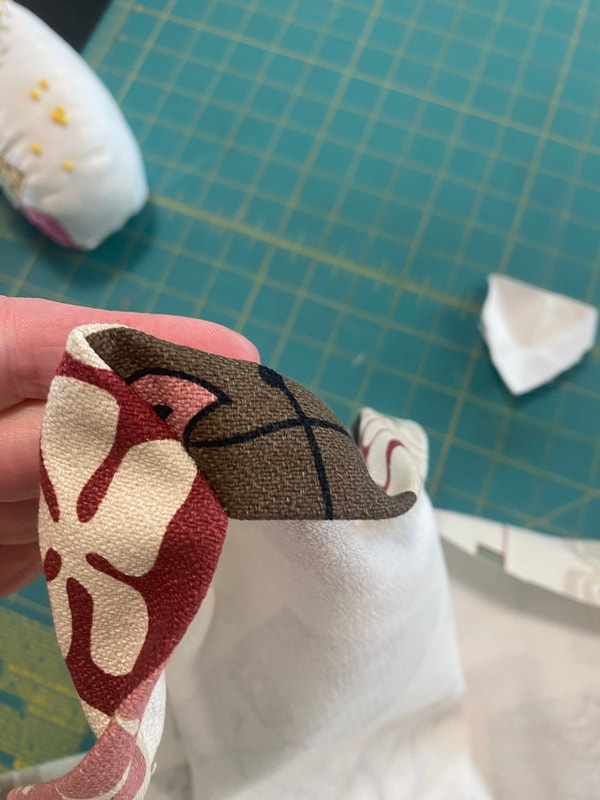
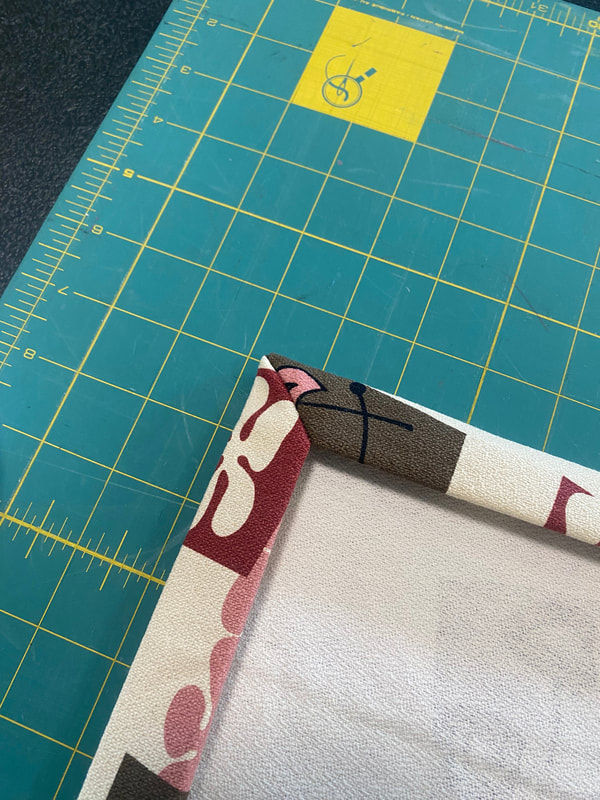
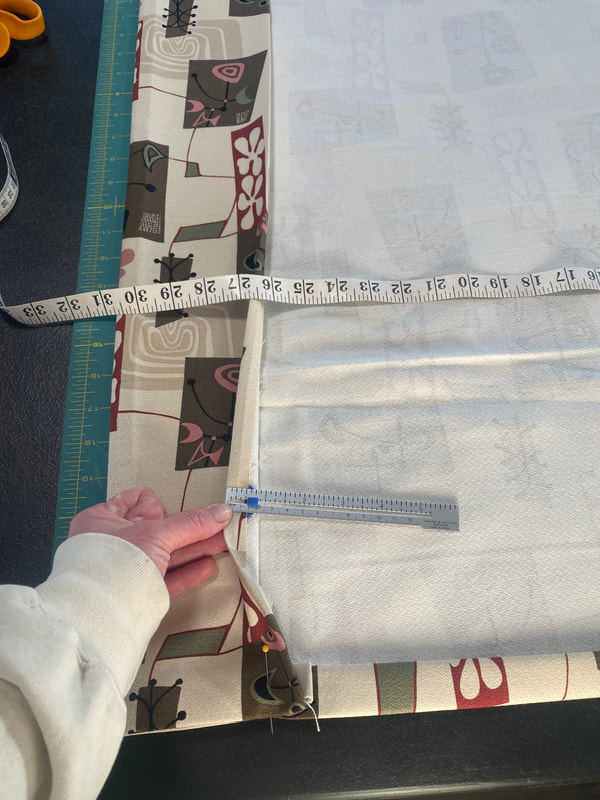
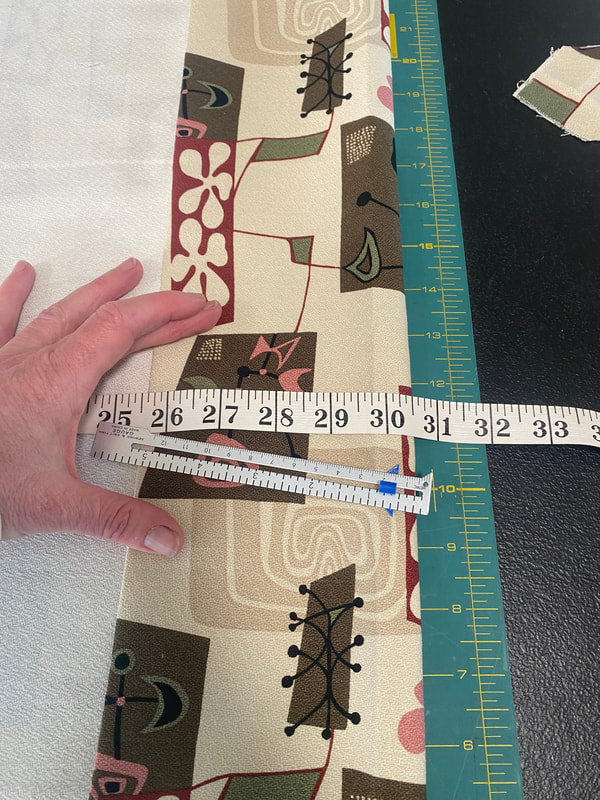
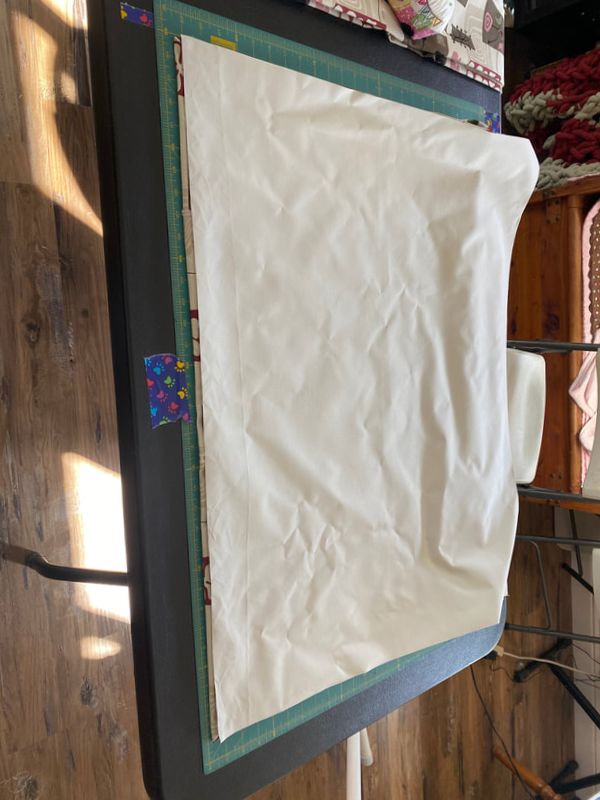
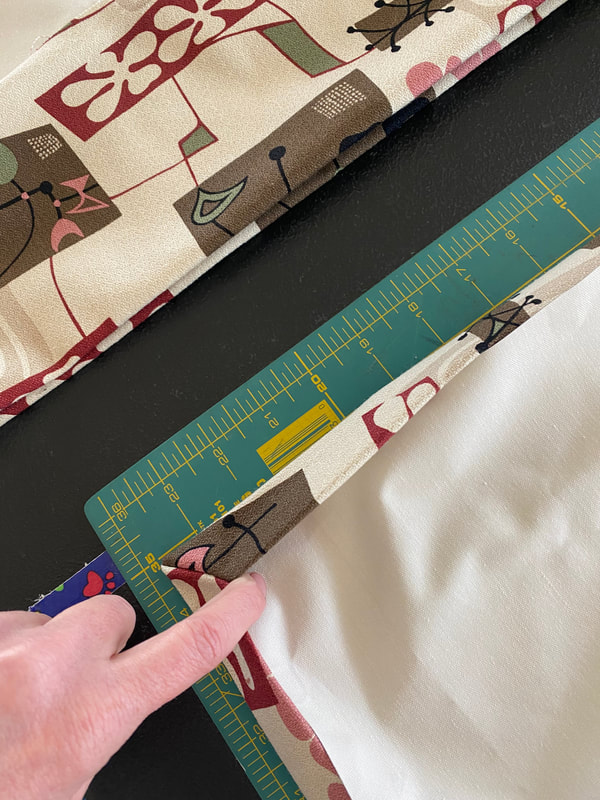
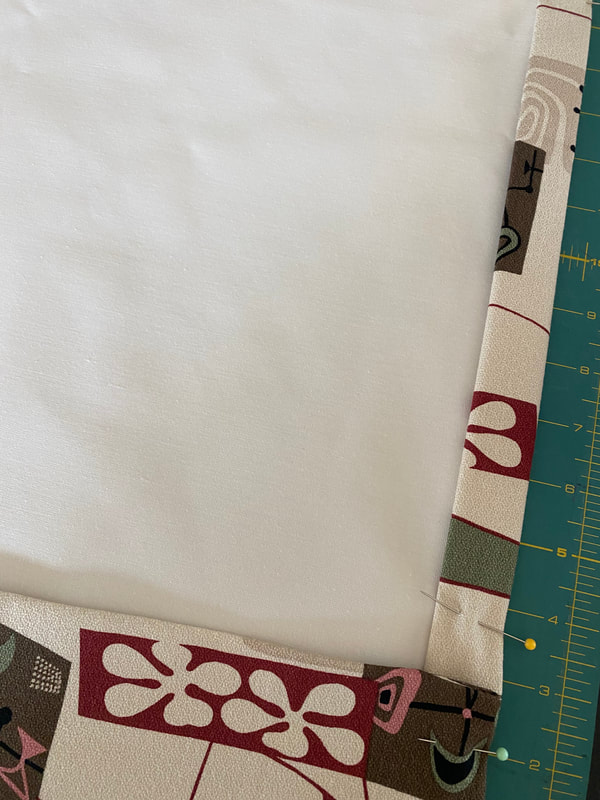
by Caroline Lacitinola Curtains for the Spartan Every time my husband lets me know that we have curtains to make for a trailer, I cringe and start to worry. I am not an accomplished seamstress. I am going to share with you my three-day journey in sewing four simple panel curtains. (There are several ways to make curtains. Camp Nation's Camping and Learning Experience will offer the opportunity to experience more curtain-making and upholstery techniques.) This last week Paul let me know that we needed to make new curtains for our 1955 Spartan Manor. The goal for the curtains was to supply privacy and add a stylish element to the trailer. Picking out the fabric is the biggest decision in making curtains. We like to keep our trailers as original as possible, so we chose Barkcloth fabric. This material is spendy and can cost up to $40 a yard so I am always anxious when making that first cut. To line or not to line is the second question of curtain making. Because our goal was privacy, we decided to line our curtains with sun-resistant blackout material. Not only does it give us the desired privacy it provides some longevity to our curtains. The blackout material tends to be heavy so make sure your rod is adequate to hold the weight. Figuring out how much material I needed and cutting the material took me an entire day. I measured, measured, and measured again. Then, because I don’t trust myself, I got out some old material and made a practice curtain. It was a good idea as I made a mistake when mitering a corner and was able to rewatch the how-to video and see what I had done wrong. I used 6 pages in my notebook to figure out the measurements. Click on the "Read More" link below for details. Measuring for Curtains Measure the total area you want to cover Width (22 inches) Height (30.5 inches) Height to the bottom of the curtain rod (28.25 inches) For house curtains, it is suggested that you take the width of the area you want to cover and double the fabric to ensure full coverage. In a trailer, it is too small to bunch up that much material, so I simply added 12 inches. (About half the original width) I also determined at this point that I need four panels to cover this window. Measuring Fabric to Cut Width 22 total width + 12 inches for coverage + 4 inches for seams (1 inch seam on each side -doubled for folding over x 2 seams) =38 inches in width Height 30.5 inches total height + 4.5 inches for top fold of curtain + .5 inch for the hem + 2 inches for the bottom hem (1-inch hem doubled for folding over) = 37.5 inches Make a practice curtain at this point and try out your measurements and sewing techniques! (See below for how I sewed my curtains together.) After you determine your measurements are correct, cut out all of the curtain panels. Make sure you keep the fabric going the same direction. I started by writing a “B” in the bottom right corner of my fabric to make sure I kept all the fabric orientated correctly. Measure, Fold and Iron a 2-inch fold along both sides and the bottom of the fabric. Then fold the edge of the fabric back into the fold and press for a double-layered 1-inch seam. Now you should have a pressed line at one inch and at two inches. It should fold together into a single 1-inch seam. Make sure you have this seam along both sides and the bottom of the curtain. Miter the corners on the bottom edge of the curtain. Unfold the first fold of the seam on both the side and bottom. Double the size of the seam and make a mark on the OUTSIDE of the first fold. (This is where I messed up on my practice curtain. I measured to the inside.) The seams of my curtain are 1 inch so I measured 2 inches from the corner on both the bottom and side seam along the outside edge. Connect the lines and draw a straight line across. Fold the right sides of the fabric together and line up where you marked two inches. This should leave a line on both sides that align. If you sew on either side, it will be the same line. This is what the corner will look like after you sew along the line. This is where the MAGIC happens. Tuck your corner back in. I always double check before cutting anything so you can see the extra fabric sticking out in this photo. If it is not folding down correctly, something is wrong and you need to try again. Trim the "Rabbit Ear" off the corner - leaving a .25 to .5 inch WE HAVE A MITERED CORNER! Do the same process on the other bottom corner. Iron the top fold of the Curtain. Iron a half-inch seam along the edge of the top fabric. Fold the top fabric over 4.5 inches. Before ironing measure to make sure that the length of the curtain is the same as your original measurement. (30.5 inches) Iron Measure and Cut the Lining to fit the inside of the curtain. To double check your measurement you can run your tape measurer from the inside of the bottom hem to the top of the curtain. In my curtains I needed to have a finished curtain of 30. 5 inches high by 34inches wide. My lining is cut just a .25 less in width. The height of the lining was determined by where the bottom of the top fold hit and the bottom of the rod. I did not want the lining to interfere with where the curtain rod goes through so I cut it below that line but above the bottom of the top hem so it could all be hidden. The measurement should be 33.75 inches wide for a 34-inch wide curtain. Height of the lining I went one inch above the top fold (27 inches) Tuck the lining into the corners. Make sure you have the side you want people to see facing out. Sewing the Curtain Together Pen the lining into the curtain. Straight stitch along the inside edge of the seam. I started at the bottom of the top fold and stitched along the side, bottom and up the other side. DO NOT stitch the sides of the top fold. Measure the distance to the bottom of the rod. Mark and sew a straight stitch from side to side. I cheated and placed a piece of tape on my machine for a straight edge to follow while sewing. This helps me keep everything straight. Measure 1 inch up from that seam and sew a parallel line from side to side. This is where you rod will go. (If you have a wider rod, you will need to adjust where you sew. Trim all the strings. Pray it fits and hang your curtains! Here you can see how it looks from inside and from outside. I am very happy that all the seams line up and you can't see in the window! Happy curtain making! For More curtain and upholstery techniques, taught by professionals, join us at Camp Nation Expo!
3 Comments
John Palmer
2/6/2023 11:48:23 pm
Great job young lady! You have that old Spartan looking good.
Reply
7/17/2024 11:50:34 am
Irresistible! Thank you so much for this kind and good service. Your services are better than better.
Reply
Leave a Reply. |
THE VINTAGE CAMPER TRAILERS MAGAZINE BLOG
Categories
All
This site contains affiliate links to products. We may receive a commission for purchases made through these links.
Archives
June 2024
This site contains affiliate links to products. We may receive a commission for purchases made through these links.
|




 RSS Feed


