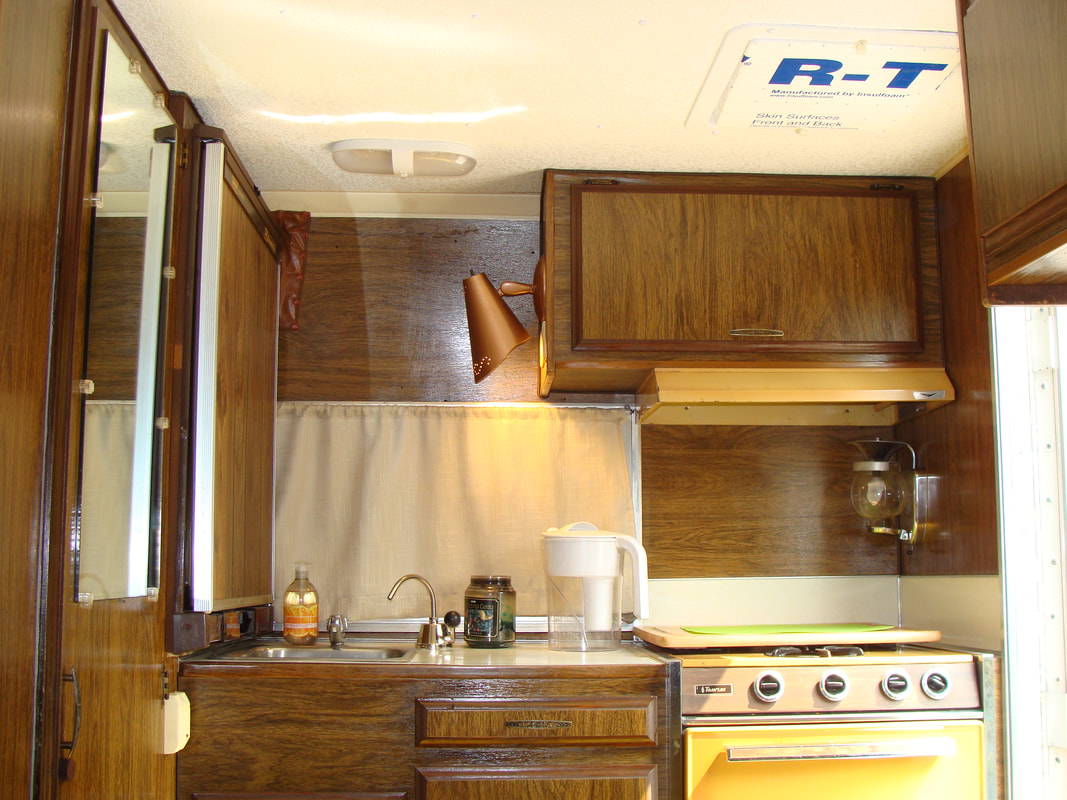
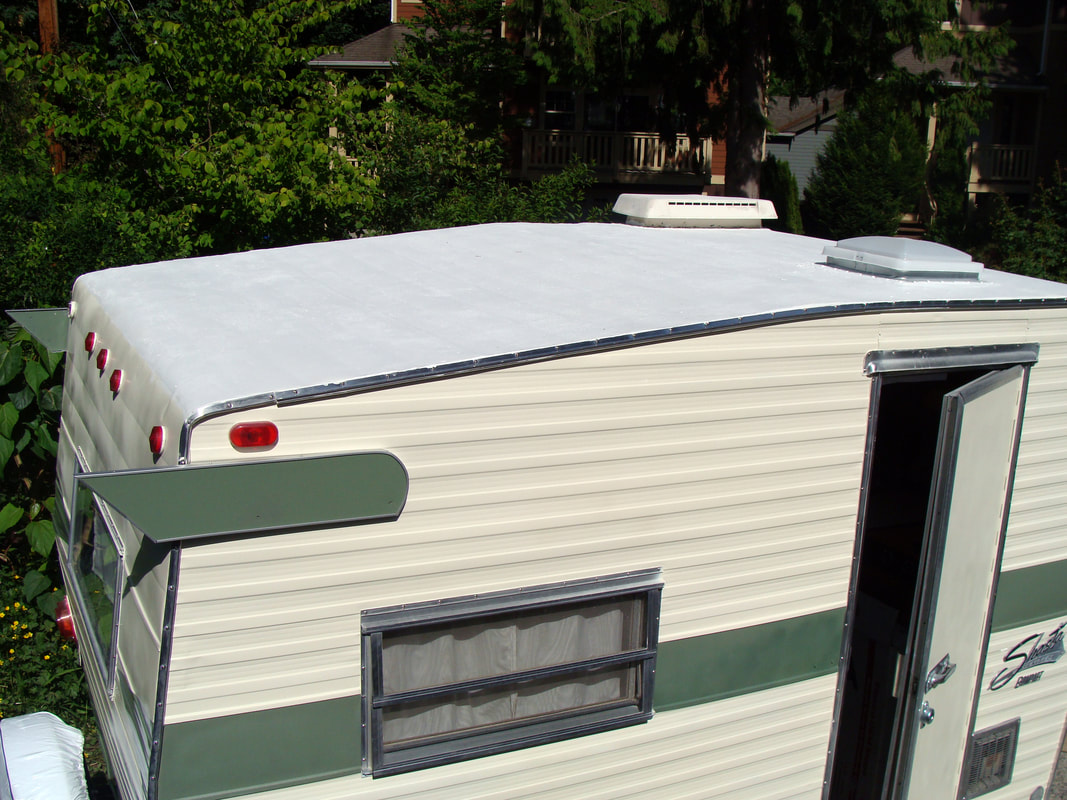
 ...continued from issue #41 of The Vintage Camper Trailers Magazine. By Leon White I knew the ceiling over the kitchen area had leaked in the past because it sagged a bit and was soft to the touch. This I would repair in the future. Well, the future arrived sooner than later! During the winter months, I was smelling mildew? While inspecting the ceiling, pushing on it harder, IT ALL FELL THROUGH!!! Wet rotted wood and insulation. Oh Crap! I learned a lot while working on the Scotty, which made the second round easier. I hope that some of my repair descriptions will help others with their projects. Of course, the first thing was to inspect the roof when the weather was decent enough to remove the tarp. After cleaning it, I removed all the old dried caulking that was peeling away around the vents. After applying new caulking, I had purchased one gallon of “Kool Seal” 63-600 White Reflective Roof Coating with a Ten-year Warranty. This product is made for roofing and half the cost of the advertised “Flex Seal”. Their calculations said that I would need one and one-half gallons for my eight by ten roof. I thought that I would test the coverage of one gallon first. You can roll it or brush it on. I used a brush, going cross direction on each dried coat for tensile strength, while covering the caulking for an extra seal. The one gallon with three coats was solid enough. Of course, the amount of roof seal will depend on the condition of one’s roof.
With the roof now weather proofed, I replaced the rotted ceiling supports and insulation. The thickness of the old paneling left a gap large enough that I did not have to remove the cupboards to install a sheet of patterned vinyl from Home Depot. After cutting out the section for the refrigerator area, I applied contractors glue onto the new supports. I was able to slip the flexible vinyl through the gaps between the walls and the ceiling, which covered the ceiling in the cupboards and the closets without having to piece it. The patience (with Two people) was to slide the edges into the existing plastic groves which held the paneling. Then white upholstery tacks were used on the supports for extra hold. I was going to paint the yellowed vinyl tack paper over the back half of the ceiling white. But, figured that after I had taped off areas and probably painted two coats, it would be easier and faster to install the same matching vinyl that’s over the kitchen area. After my cuts, we test fitted the vinyl. Then applied the glue in lines about five inches apart onto the back side, then put the sheet in place. Continuing with the upholstery tacks into the existing wood ceiling about twelve inches apart. Well, we weren’t going to stand there with our arms up, holding it until the glue dried! I pre-planned having two, two-by-fours about five feet in length running the width of the trailer with two-by-four posts pushed against these and the floor to hold it all up until it dried for two days. Not only did this white vinyl add a fresh new look but gave the effect of a taller and larger space.
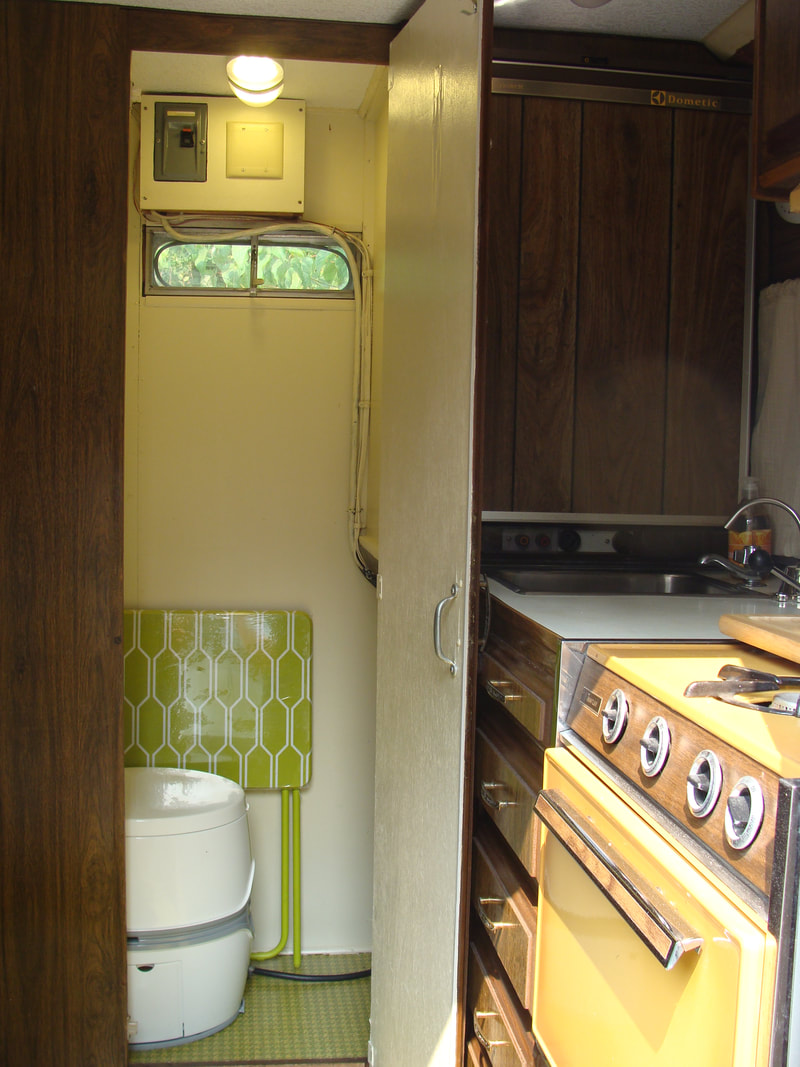
At our age, we wanted a toilet. The full-length closet was not large enough for the porta potty and maneuverability. I removed the wall between the full closet and the storage closet. Narrowing the storage closet and widening the toilet room by eight inches. I then painted the brown paneling an off white to make the toilet room brighter and less claustrophobic. After returning two different porta potties that were more for children. I highly recommend the Thetford Curve Pota Potti Toilet. The seat and the height are just right for adults. Plus, the battery flush button allows for a small flush first, so the (you know) doesn’t stick to the trap door when flushing. Don’t forget to remove the batteries when in storage so they don’t corrode. I replaced the old 12-volt light fixtures with new 12-volt LED fixtures, including one in the toilet room. Replaced the 110-volt bulbs with LED’s. Since I was going through all the work removing, cleaning, polishing the outside aluminum trims, and applying new butyl tape. I was not going to put on the old dull and rusted bolts and screws. I invested in stainless steel. (About 300) SWEET! It all looks shiny and new! I had taken some photos to the auto repair shop that advertises nationally to paint your car for $399. to ask on the cost to have them paint the trailer? “WHAT? That cost more than I paid for the trailer!”. “Well that’s not going to happen!” BEWARE for trickery advertising. Those ads we see on TV for a car paint special for $399. THAT IS FOR THE PAINT ONLY! That price does not include the prep work, the taping, the actual painting! I decided to repaint the entire trailer myself. This was not difficult for me as an artist to get the nice consistency to achieve the final sheen. The trick to not getting runs, is to spray many light layers until all was evenly covered. (about four-five layers). We wanted an antique look, not the pure white that it was. It took twelve cans of “Gloss White Canvas” to paint the entire trailer. (Three green for the accents, Two black for the tongue and rear bumper). About $85.00 total in paint! It looks great until one day I can get it professionally painted.
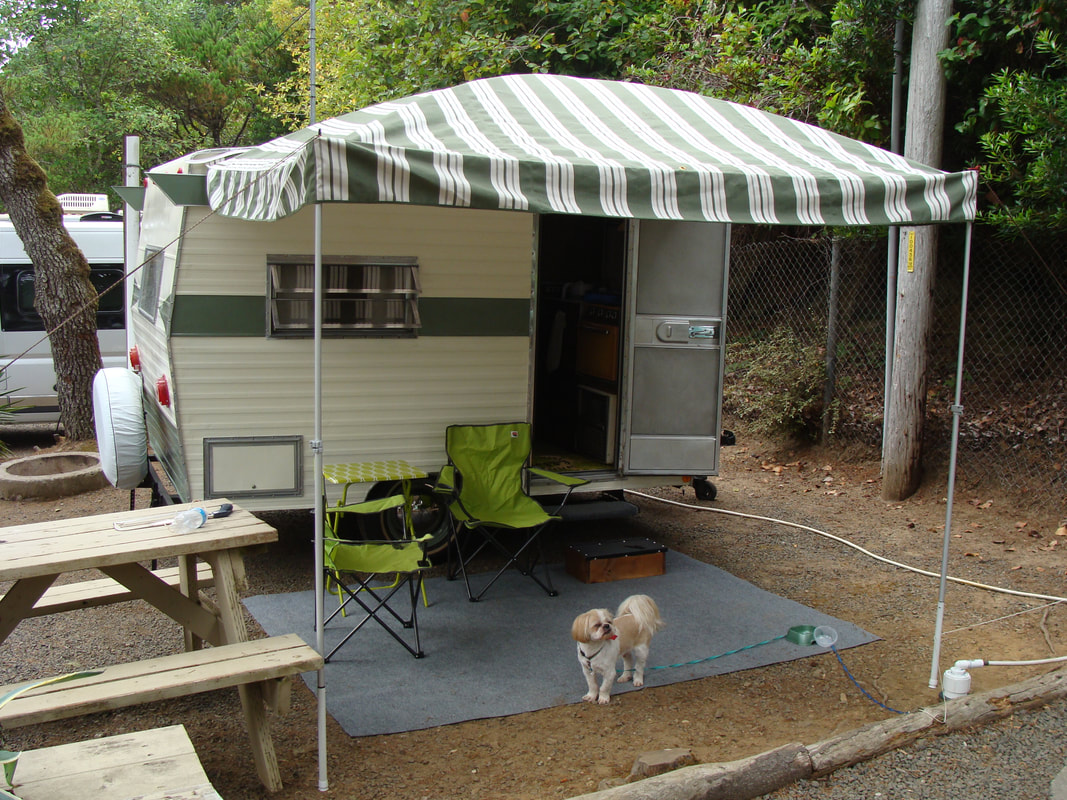
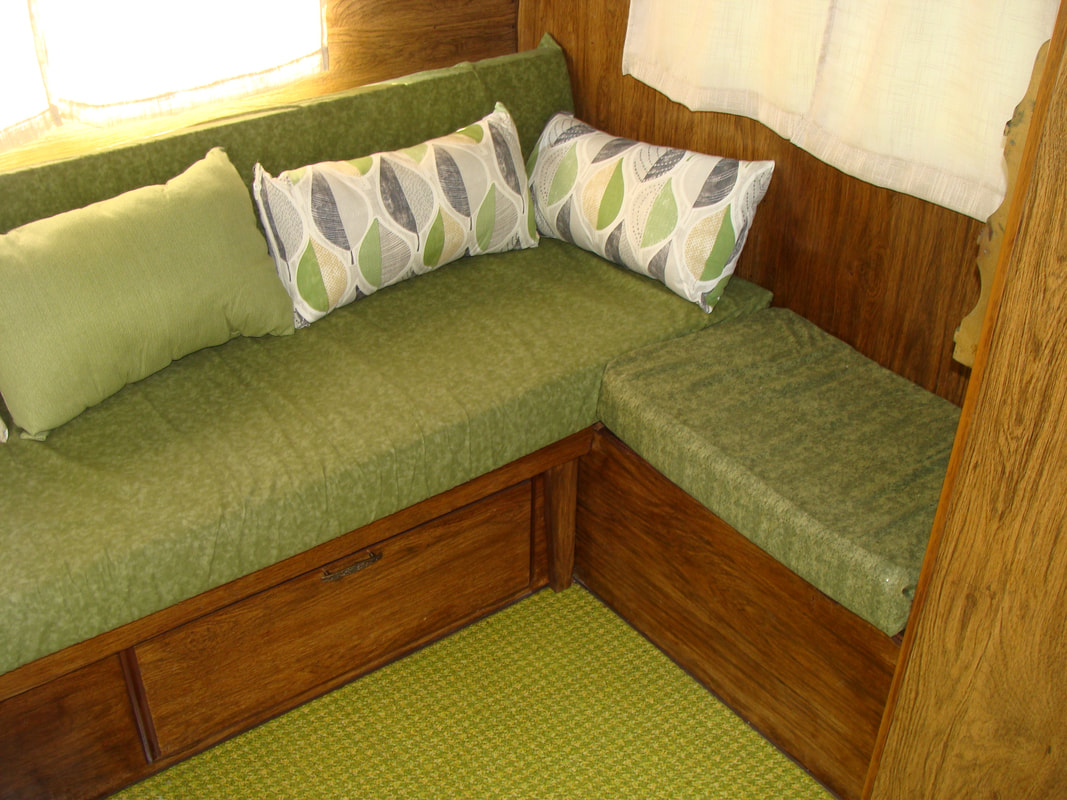
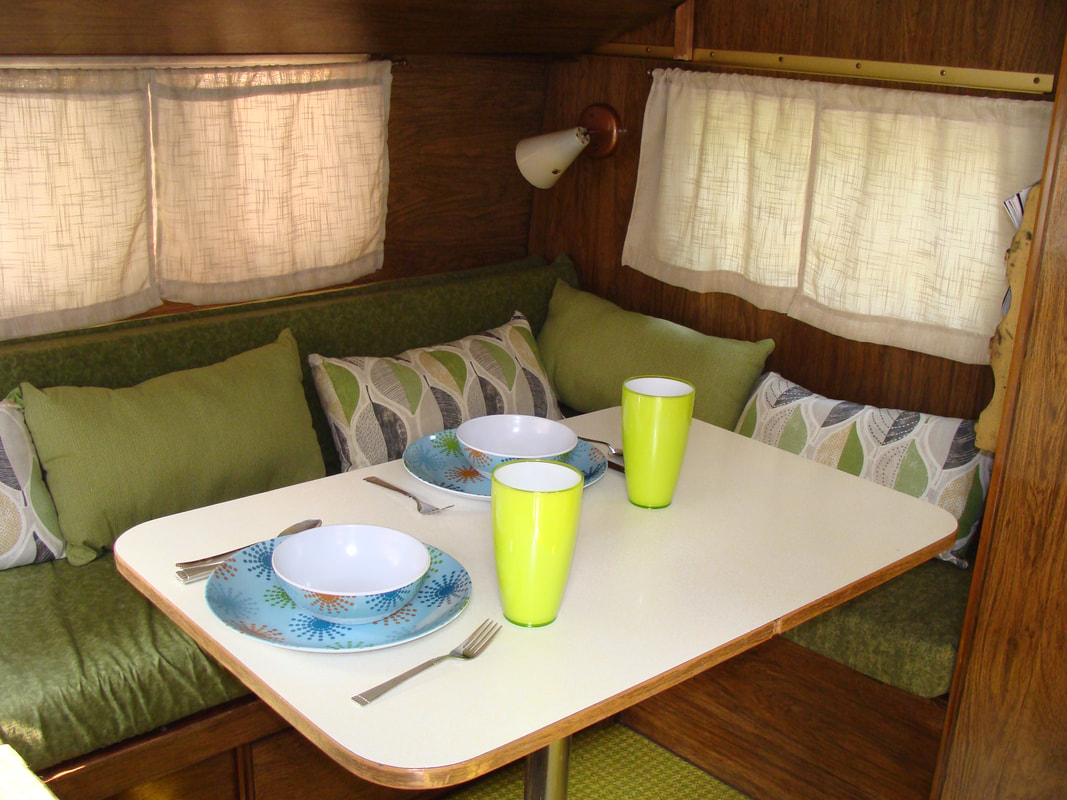
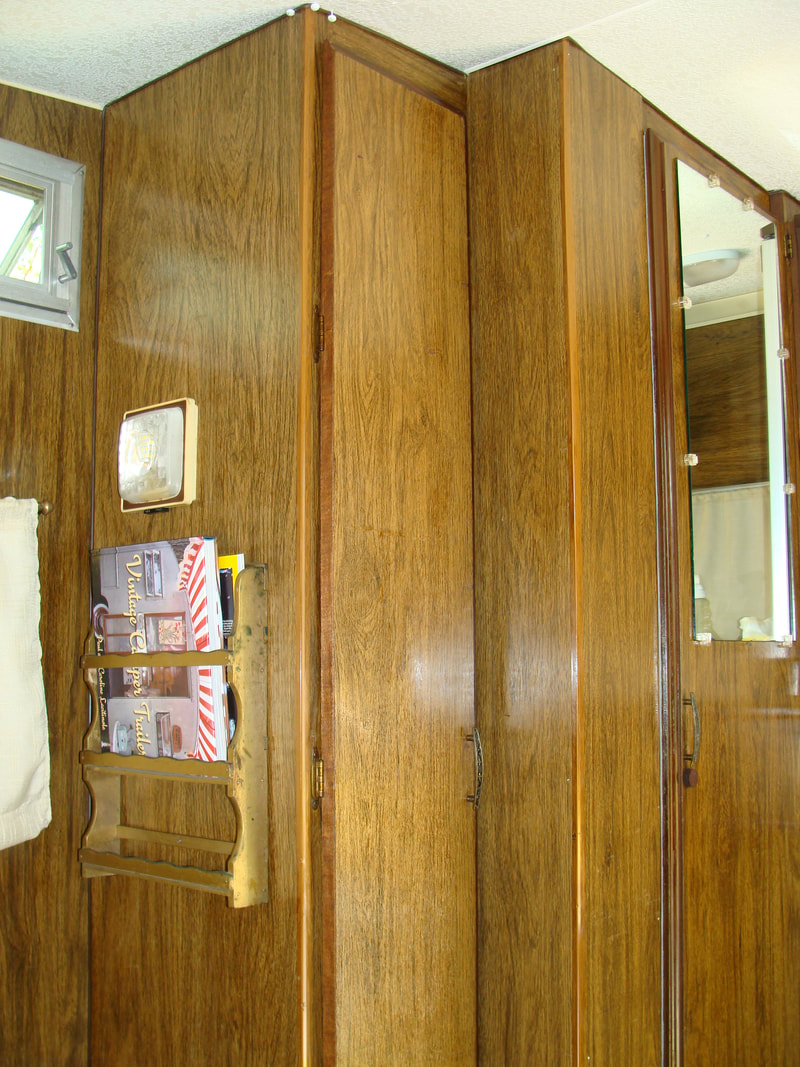
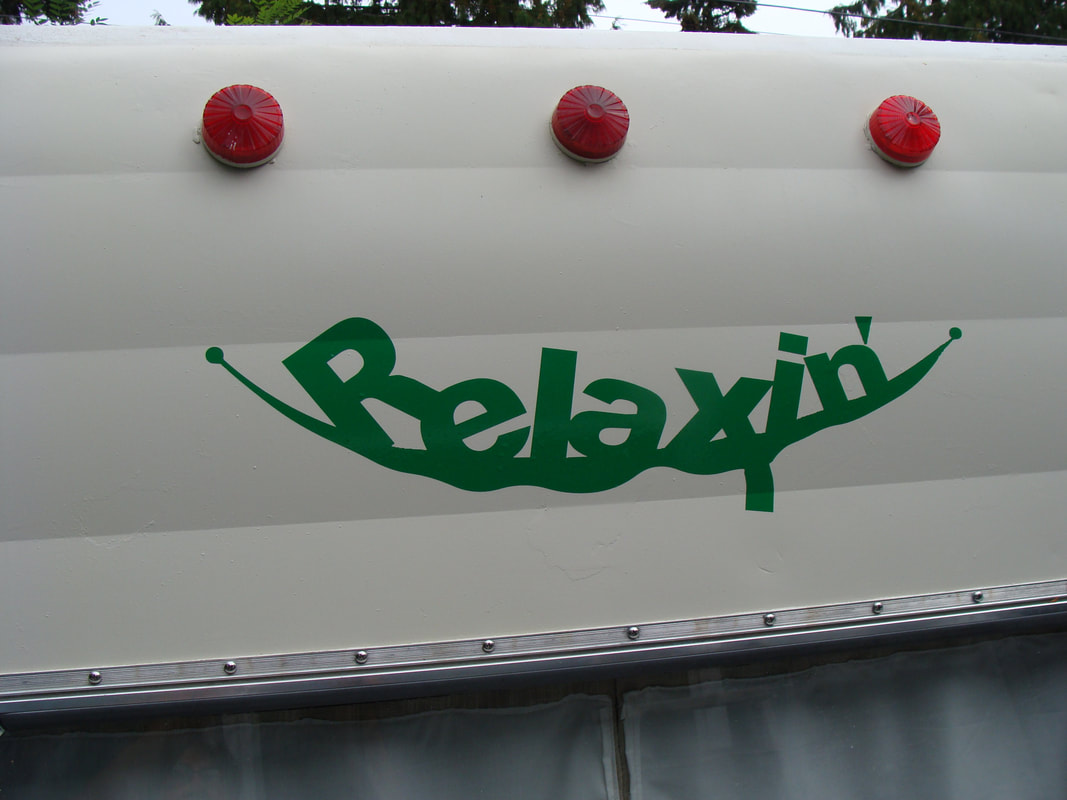
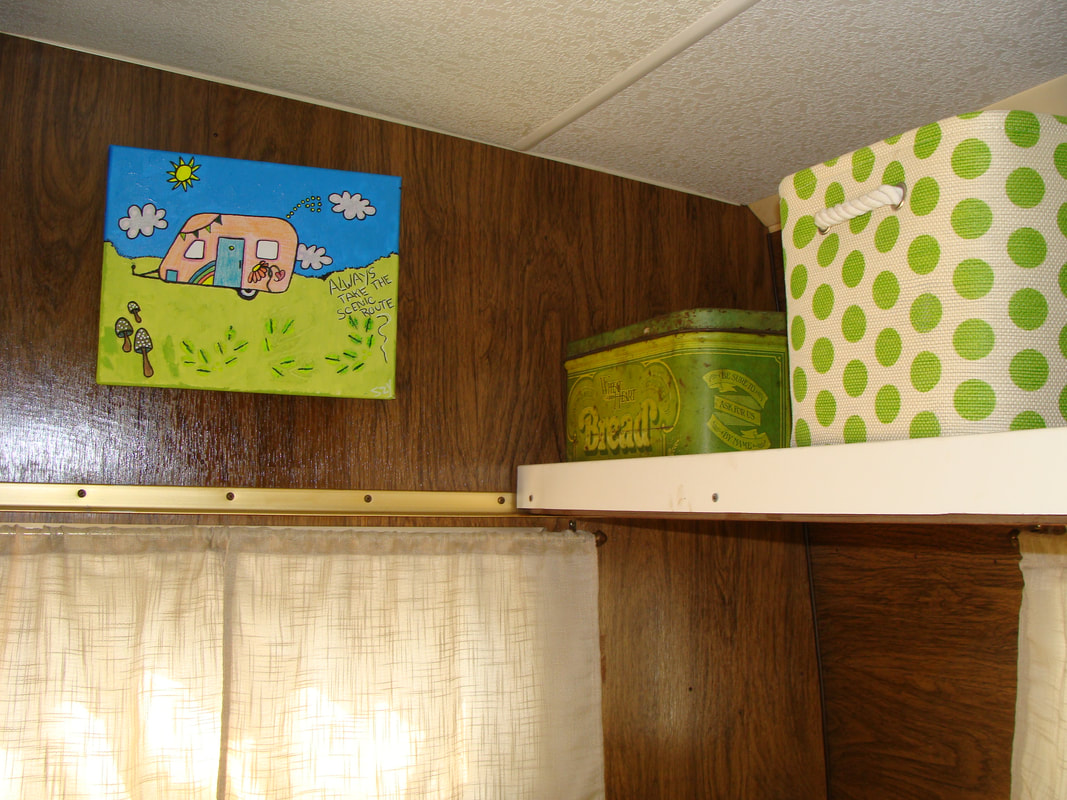
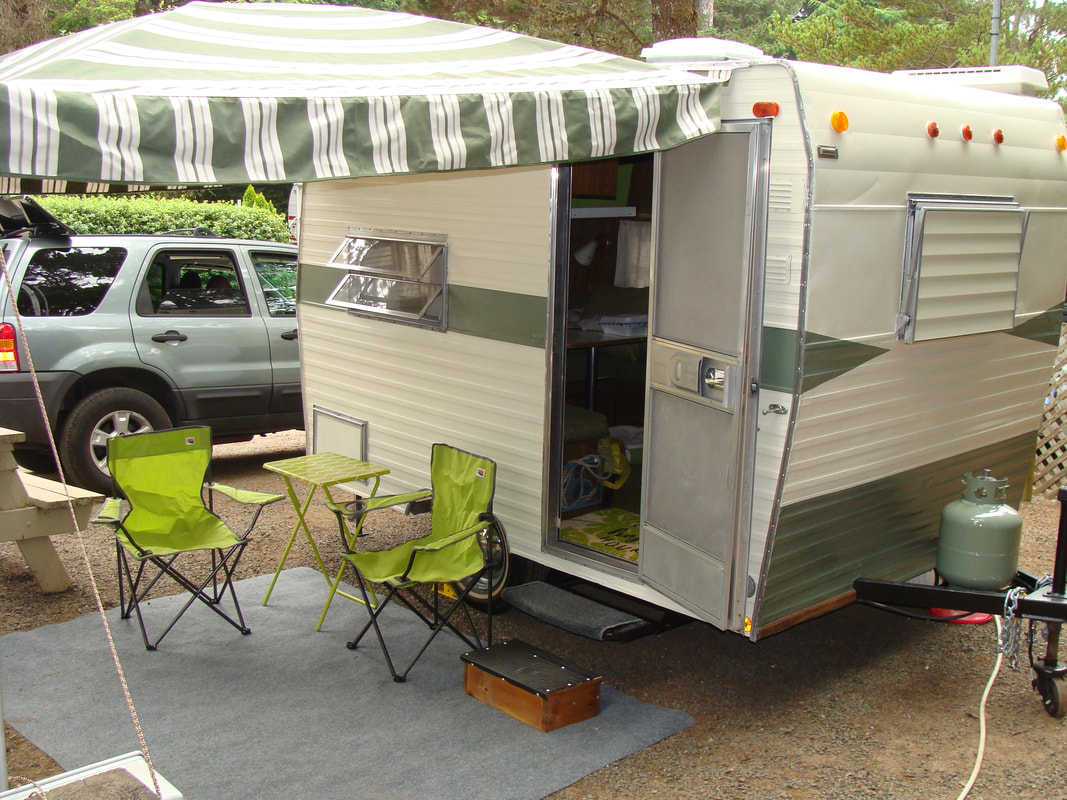 I repainted the outside red trim and the red wooden wings a green trim that is a close color to my SUV. Adding the arrow head shapes to the front and the back for some pizzazz. The same on the wheel hubs. We kept the wonderful original lime green speckled linoleum which is a nice contrast to the darker inside paneling. I am attracted to the color of green. With many hues to coordinate, greens are pleasant while having a calming effect, as the color spectrum throughout nature. We purchased green coordinating fabrics, and I sewed the cushion covers, new curtains, and accent pillows. We kept the overall color theme solid due to the small space. We enjoy seeing the wild decorated trailers, but, too many things and patterns would send my head spinning without having a cocktail! Because the interior was too dark with the original solid aluminum ceiling vent. I replaced it with a white plastic one. (Big difference having natural light coming through) TIP: To keep the trailer cooler on hot days with the sun and heat coming through the white vent. I cut a one-inch thick piece of sheet Styrofoam that has the foil on one side, the size of the vent facing up to reflect the heat. Adding two small wing bolts opposite to hold it in place. This probably can be done with foil over cardboard. Not needing the folding bunk. I removed the larger platform (saving it and the cushion for future sell) and put a piece of three-inch floor molding across the front of the smaller platform to keep things from falling off while traveling. I decided to leave the white primer as it accented the white ceiling and white table top. Also, as a reminder to not hit our heads when sitting. An idea came to raise the front of that platform by six inches, so it didn’t feel like sitting under a shelf. I cut two pieces of wood that is one half by one and a half inches at six-inch lengths and then stained them. I glued Velcro on the ends, and Velcro where the ends will rest to raise the platform after the trailer is parked. “Voila!”. Since the old paneling had scuff marks. I went over all of it with dark, scratch covering furniture polish. That looked nice for a couple of weeks until the old dried paneling had soaked it all in! Dull again? It took two quarts of stain to cover all the paneling. The wood was so dry that the stain didn’t drip much as it was sucked in! The paneling now looks new! The previous owner had reversed the axles, which raised the trailer about 4-5 inches. This looked odd at first. Then, I remembered how the Scotty Trailer’s rear end would hit the ground of a sloped driveway or when other obstacles interfered. We want to be able to take it off road, so the extra height was fine. Stepping up into the trailer was awkward, so I had a fold out step installed. While at this rally, I noticed a trailers canopy with a curved upward crown, giving the under canopy extra height, instead of sagging, especially when it rained. Inquiring? He purchased some quarter inch diameter flexible tent poles. Since his wife had sewn the canopy herself, she added little pockets to the inside corners to hold the tent poles. While cutting one tent pole shorter to fit the diagonal. He did not know that there was a cable inside to hold the flexing. He described how difficult it was to pull the cable out and reattach it. During my research on EBAY tent poles. I found one-half inch Chimney Cleaning Poles in a set of six, each at four feet long. (solid without a cable inside). I took our custom-made 8’x 8’ canopy and sewed pockets into the corners. NOTE: Do not cut the rods by the square root for the diagonal because they will be too short for the uplift of the canopy. With your canopy installed, take three rods screwed together, put one end of the rod into a pocket, bend the rod upwards to figure how tight you want the uplift, then cut the length if needed. Once the rods are set into the diagonal corner pockets, you need to tie or (Velcro) the crossing top rods so they do not snake out of position. The icing on the cake for our KEEPER, are the new Baby Moon Hubcaps!!! Christening it with a logo designed and made by my brother-in-law, Monte Williams, in the shape of a hammock, “Relaxin”. Notice how the X hangs over like a leg! We’ll christen our Shasta on a camping trip to celebrate our thirtieth anniversary!
2 Comments
|
THE VINTAGE CAMPER TRAILERS MAGAZINE BLOG


Categories
All


This site contains affiliate links to products. We may receive a commission for purchases made through these links.
Archives
June 2024
This site contains affiliate links to products. We may receive a commission for purchases made through these links.
|
 RSS Feed